Week 3: Quilting + Cutting:
This Week in the Backpack Sewalong ✂️🧵
We’re diving into quilting and cutting! This week, we’ll be:
- Quilting and cutting all of our quilted bag pieces
- Cutting out your accent fabric (don't for get to use your labels provided on the template sheet to help you stay organized!)
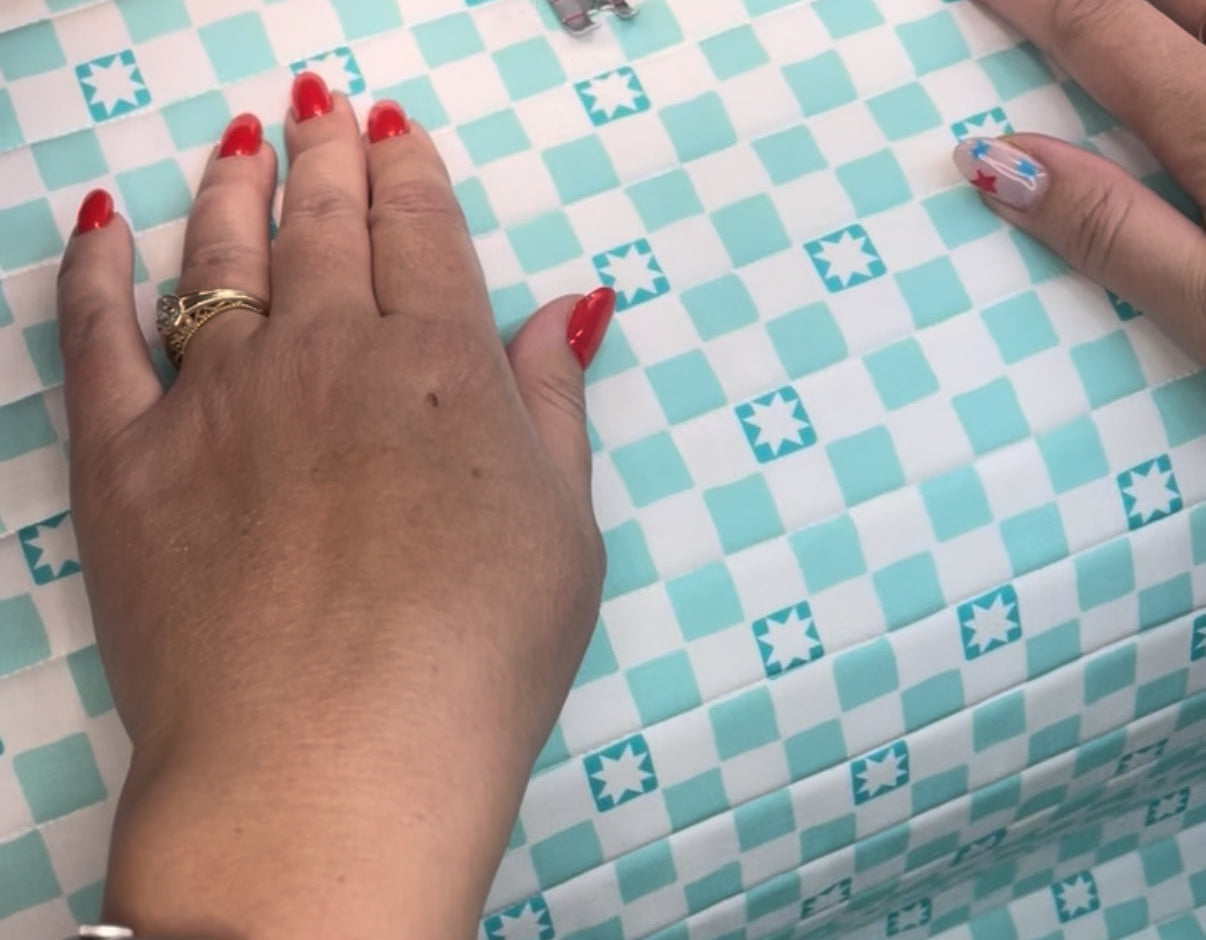
- ONE change I did make to the backpacks I'll be making for the sewalong is add to my cutting an extra Zipper Binding. (just cut 2 the size listed in the pattern.) Then you will bind the Zipper pocket before attaching the zipper. This just makes is easier to add a little sew in tag if you'd like. I really like the finished look of it. I have an example of it below!

Check out this week's Instagram Live, you can watch it on YouTube by clicking below.

Quilting
Now for Quilting—YAY! 🎉🧵
This week we get to start quilting our bag panels, and I’ve got some tips to make it easier!
✨ Instead of quilting a full ½ yard at once, you may find it helpful to cut out the individual pieces first, make quilt sandwiches, and quilt each piece separately.
💡 When I am doing this method I cut my pieces 1" bigger than the size listed in the pattern to account for any shrinking or shifting during quilting.
I also made a YouTube video sharing exactly how I like to quilt with Soft and Stable—but the same tips apply if you're using batting instead!
👉 YouTube
Don’t want to quilt it yourself?
No problem! Your favorite longarm quilter might be happy to help. Just make sure to:
- Ask how much extra backing/lining they’ll need for each panel
- Ask if they have Soft and Stable on the roll or send your own!
Happy quilting, friends! Let’s get those gorgeous bag pieces ready! 💖🎒
#BackpackBackpackSewalong2025
Helpful Marking Tools
Let’s Talk Marking Tools! ✍️🧵
When it comes to marking lines for machine quilting, here are a few of my favorite tools:
✅ Hera Marker – no ink, no chalk, just a crisp crease
✅ Clover Chalk Pen – smooth and precise
✅ Sewline Air Erasable Pen – great for temporary marks
I also love using the sewing guide that came with my machine!
Not everyone realizes their machine includes one—so take a peek through your accessories. You might already have this handy tool!
I especially reach for mine when doing crosshatch quilting—it's a game-changer for evenly spaced lines!
Other tools we chatted about this week are painters tape, Hera Marker and, June Tailors Basting spray.

Cutting:
Let’s Talk Rulers! 📏✂️
When it comes to cutting fabric for quilts or bags, my go-to rulers are Creative Grids Rulers—they're grippy, accurate, and super durable.
One of my absolute favorites is their 20.5" x 20.5" square ruler. And a new Favorite is their 12.5'' x 24.5'' both are perfect for:
- Cutting large bag pieces
- Trimming bias binding squares
- Squaring up big quilt blocks
🧠 Pro tip:
If I don’t have a ruler big enough for a certain cut, I just butt two rulers together to measure out the size I need. Works like a charm!
Also, after you cut out your quilted fabric, don’t skip the 1/8" staystitch around all the edges. This step helps prevent your quilting from coming undone and compresses the edges, which is so important for clean assembly later on.
I also find it worth the extra effort to match your topstitching thread—it makes for a beautifully polished finish!

Remember to check out other sewists' bags on the hashtag #BackpackBackpackSewAlong2025!
Happy Making!
Comments (0)
Back to Blog